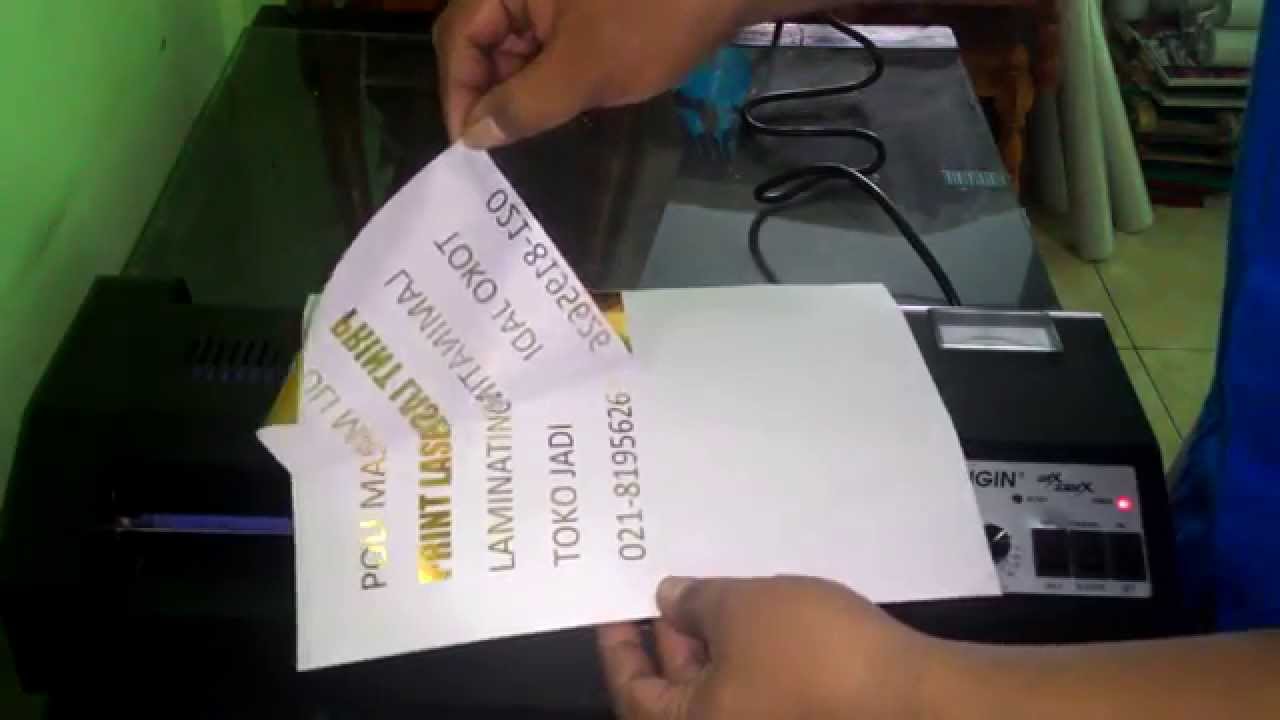
Aluminium foil is a versatile material that can be used for various purposes, including printing. Printing on aluminium foil can be useful for creating personalized labels, packaging designs, or even art projects. In this article, we will discuss the step-by-step process of printing on aluminium foil.
Materials Needed
Before getting started, make sure you have the following materials:
- Aluminium foil sheets – Ensure that the foil sheets are smooth and wrinkle-free for better printing results.
- Printer – Use a printer with a flat paper path to avoid any potential jams or damage to the foil.
- Design software – Use design software such as Adobe Illustrator or Photoshop to create your desired design.
- Transparent adhesive – This will be used to attach the foil to a regular sheet of paper and prevent it from getting stuck inside the printer.
Step 1: Prepare Your Design
Start by designing or choosing the design you want to print on the aluminium foil using design software. Adjust the dimensions of the design according to the size of the foil sheet you have.
Step 2: Attach the Foil to a Regular Sheet of Paper
Take a regular sheet of paper and apply a thin layer of transparent adhesive on one side. Then, place the aluminium foil above the adhesive side of the paper and gently press it down to ensure it sticks firmly. Trim any excess foil around the edges of the paper.
Step 3: Adjust Printer Settings
Open the printing preferences on your computer and select the appropriate paper size and type. Choose the highest print quality available for better results. It is advisable to do a test print on a regular sheet of paper before printing on the foil to ensure the design is properly aligned.
Step 4: Print the Design
Load the prepared foil and paper combination into the printer’s paper tray, ensuring the foil side is facing the print head. Make sure the printer is set to print on the correct side of the paper.
Step 5: Allow the Ink to Dry
Once the printing is complete, carefully remove the foil sheet from the paper. Place it on a clean, flat surface and allow the ink to dry completely before handling or using it.
Step 6: Optional Finishing Touches
If desired, you can apply a clear protective adhesive spray over the printed design to provide durability and prevent smudging or scratching.
Step 7: Utilize the Printed Aluminium Foil
Now that you have successfully printed on aluminium foil, you can use it for your intended purpose. Whether it’s creating custom labels, designing unique packaging, or exploring various artistic possibilities, the printed foil is ready to be incorporated into your projects.
Remember, it’s essential to handle the printed foil with care to maintain its quality and prevent any damage to the design.
Conclusion
Printing on aluminium foil can be an exciting and creative process. By following the steps mentioned above, you can easily print your own designs on aluminium foil and use it for a wide range of applications. So, gather your materials, design your artwork, and start printing on aluminium foil to unleash your creativity!


